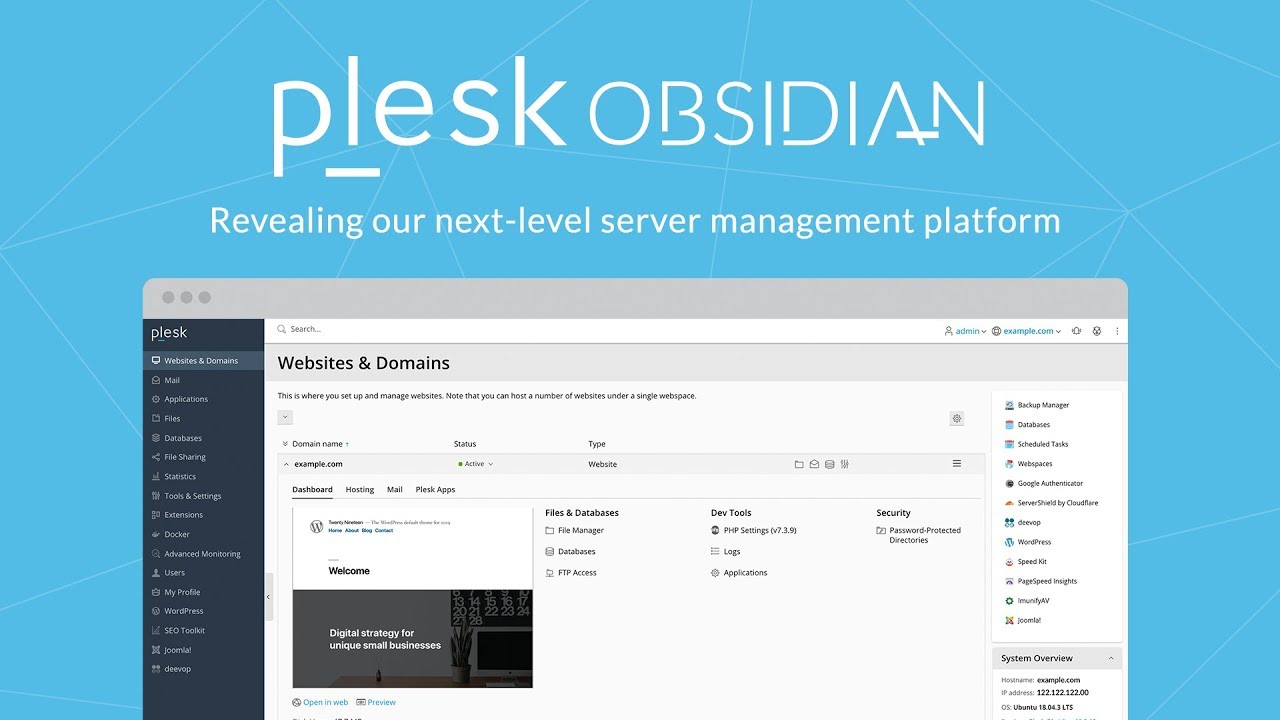
Adding a domain in Plesk Panel
- Login to Plesk Panel: Open your web browser and access your Plesk Panel by entering the URL provided by your hosting provider. Log in using your admin credentials.
- Access Domain Settings: After logging in, you’ll be presented with the main Plesk Dashboard. Find and click on the “Websites & Domains” tab. This is where you manage your domains and subdomains.
- Choose the Domain: From the list of domains associated with your account, select the domain under which you want to create the subdomain.
- Add Subdomain: Inside the domain settings, look for an option called “Add Subdomain” or something similar. Click on it to start the subdomain creation process.
- Fill in Subdomain Details:
- Subdomain Name: Enter the name of your subdomain. For example, if you want to create a subdomain named “blog” for your main domain “example.com”, you would enter “blog” here.
- Document Root: This is the directory where the subdomain’s files will be stored. You can usually leave this field blank or use the suggested default.Adding a domain in Plesk Panel
- Configure Settings:
- Create DNS Record: Plesk will likely provide an option to automatically create a DNS record for the subdomain. Make sure this option is checked, so the subdomain can be resolved to the correct IP address.
- Enable Web Hosting: If you want the subdomain to have its own separate website or web application, enable web hosting. If you only want to use it for redirecting or email purposes, you can skip this step.
- Complete the Process: Once you’ve filled in the required details, click the “OK” or “Create” button to finalize the subdomain creation.
- DNS Propagation: Keep in mind that DNS changes may take some time to propagate across the internet. This means that your subdomain might not be accessible immediately after creation. Give it some time, usually a few hours, for the DNS changes to fully propagate.
- Upload Content (Optional): If you enabled web hosting for the subdomain, you can now upload your website files or set up your web application in the specified document root directory.

That’s it! You’ve successfully created a subdomain on your Plesk Panel. Remember, the exact steps and labels might vary slightly based on your Plesk version, but the general process should be quite similar. Adding a domain in Plesk Panel
Adding a domain in Plesk Panel is a straightforward process that expands your online reach and streamlines website management. With its user-friendly interface, Plesk Panel simplifies the addition of new domains, whether you’re setting up a fresh website, creating subdomains, or managing multiple domains under a single hosting account.
Adding a domain in Plesk Panel
Step 1: Access Plesk Panel
Log in to your Plesk Panel dashboard using your credentials. Once logged in, you’ll have access to the main control panel where you can manage various aspects of your hosting environment.
Step 2: Navigate to Domain Management
Locate and click on the “Domains” or “Websites & Domains” section. This is where you can manage existing domains and add new ones.
Step 3: Add a New Domain
In the “Domains” section, find the “Add Domain” or “Add New Domain” button. Clicking this initiates the domain addition process.
Step 4: Provide Domain Details
You’ll be prompted to provide details for the new domain. This includes the domain name, hosting settings, and any desired subdomains. The intuitive interface guides you through the setup.
Step 5: Configure Settings
Set up domain-specific settings such as hosting type, PHP version, and other preferences based on your needs.
Step 6: Complete Setup
Review the settings, and once satisfied, finalize the domain addition. Plesk Panel will handle the technical configurations.
Step 7: Manage Your Domain
After adding the domain, you can manage its settings, upload website files, set up email accounts, and more directly from Plesk Panel.
In conclusion, adding a domain in Plesk Panel is a user-friendly process that empowers you to expand your web presence effortlessly. Whether you’re a website owner, developer, or managing multiple projects, Plesk Panel’s streamlined domain management helps you effectively bring new websites online.
Adding a domain in Plesk Panel, For more detailed information, you can get in touch with us through the contact section.
